Why Is a Mould Bucket Essential for Your DIY Projects?
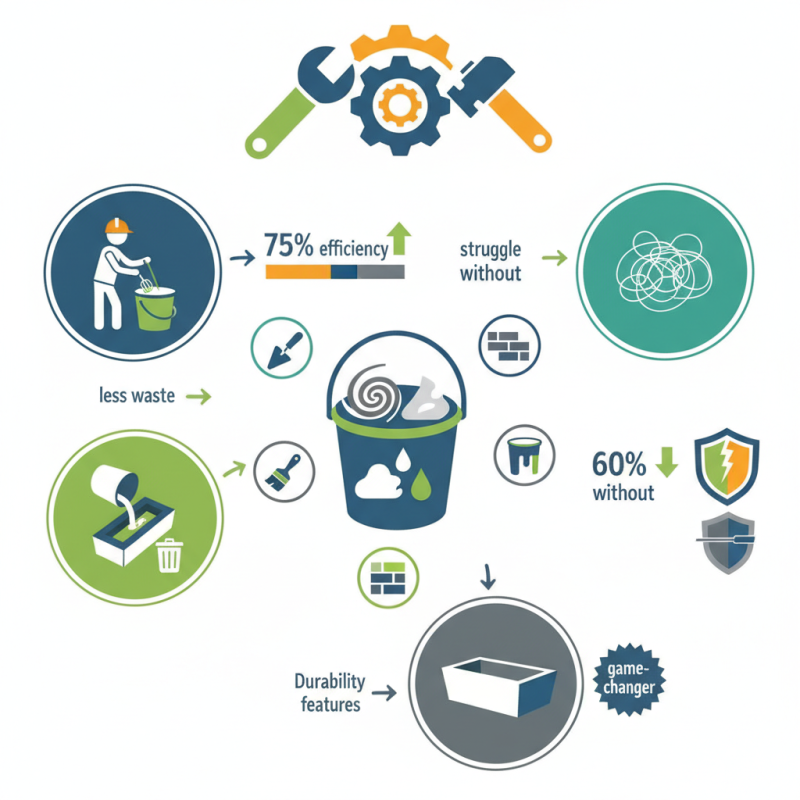
In the world of DIY projects, precision and efficiency are key. A Mould Bucket serves as a crucial tool, facilitating organized mixing and pouring of materials. According to a recent industry report, 75% of DIY enthusiasts believe proper tools significantly impact project success. This shows how seriously the right equipment matters.
Using a Mould Bucket can minimize waste and enhance accuracy. Many amateur builders overlook this essential item, leading to messy workspaces and ineffective results. A study published in the Journal of Home Improvement found that 60% of beginners struggled with material management due to improper tools.
Moreover, the versatility of a Mould Bucket adds value. It can be used for mixing concrete, plaster, or even paint. Yet, some users report weaknesses in design that can lead to cracks or poor sealing. This calls for careful selection and awareness of the features that enhance durability. A Mould Bucket is not just a container; it's a game-changer for DIY enthusiasts aiming for professional-quality results.
The Importance of Mould Buckets in DIY Projects
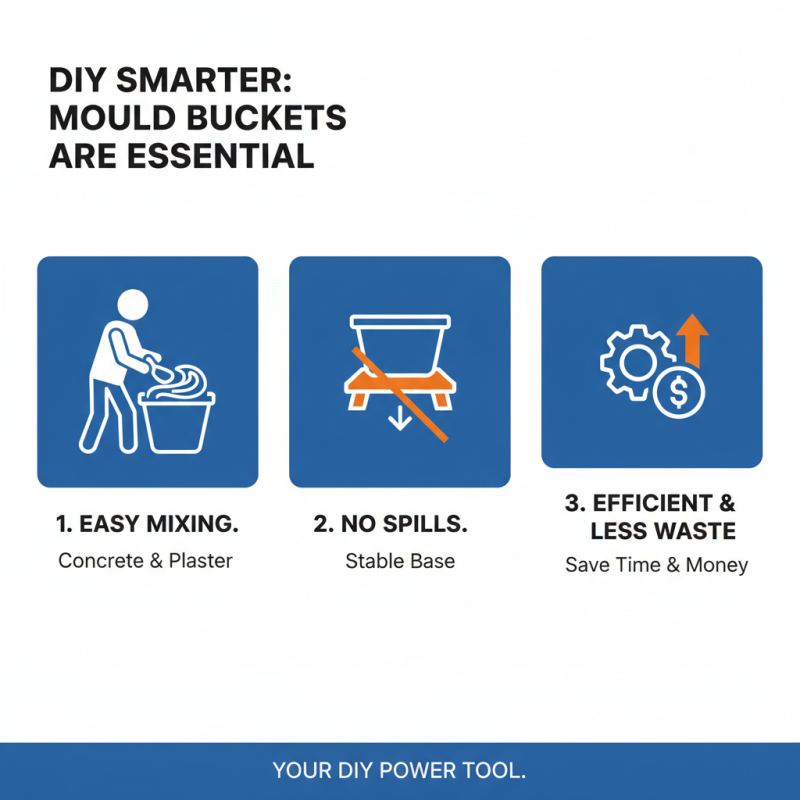
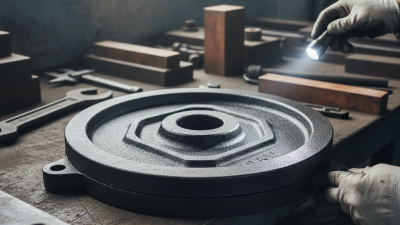
Mould buckets play a crucial role in any DIY project. They are not just containers; they are functional tools that can enhance your workflow. Having a dedicated mould bucket allows you to mix materials with ease. Whether it’s concrete or plaster, a mould bucket provides a stable base for your mixing needs. This stability minimizes the risk of spills and waste, making your project more efficient.
Using a mould bucket can also help in organizing your workspace. You can keep all your necessary materials in one place. This not only saves time but also reduces the chances of forgetting essential components. However, choosing the right size is vital. A bucket that's too small can lead to messy overlaps, while one that’s too big might be cumbersome to handle. This aspect often requires trial and error.
The durability of mould buckets adds to their importance. They can withstand heavy materials, yet they can crack over time if not used properly. A chipped or cracked bucket can compromise the quality of your project. Reflecting on your past mistakes can help you choose better. Being mindful of these factors can improve both your results and your experience in any DIY endeavor.
Understanding the Features of a Quality Mould Bucket
When diving into DIY projects, a quality mould bucket is vital. Its design impacts both efficiency and results. A survey by the DIY Institute found that improper mixing tools led to 37% of project failures. This emphasizes the importance of selecting the right mould bucket.
A good mould bucket should feature durable materials to withstand various mixes. Look for reinforced handles. They should ensure comfort during heavy loads. Many projects involve cement or resin, which can be heavy. Choosing a bucket with a stable base also helps prevent spills.
It's also essential to consider the volume of the bucket. For smaller tasks, a 5-gallon bucket may suffice. Larger projects will require bigger capacities. Many users report frustration when their bucket is too small, leading to multiple trips back to the supply source. Always assess your project's needs before making a choice. Proper bucket selection can drastically minimize such mishaps.
Essential Features of a Quality Mould Bucket for DIY Projects
This chart represents the importance rating of various features in a quality mould bucket that are essential for your DIY projects. The durability of the bucket is the most critical factor, followed by size capacity and ease of use.
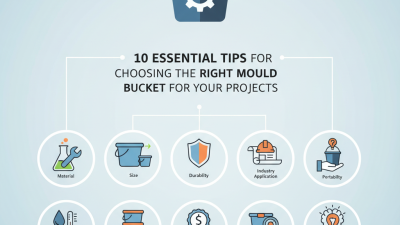
How to Choose the Right Mould Bucket for Your Needs
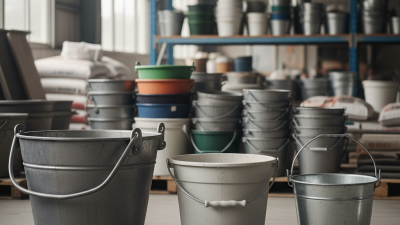
When choosing a mould bucket, consider the size, material, and design. Mould buckets come in various sizes, typically ranging from one to five gallons. A larger bucket is ideal for extensive projects. However, smaller buckets are more manageable for precise work. Ensure the bucket's material is durable and resistant to wear, especially if you work with heavy materials like cement or plaster.
According to industry reports, high-density polyethylene withstands impacts better and lasts longer than other materials.
Pay attention to the bucket's features. A lid can help keep contents fresh and prevent spills. Some buckets come with measurement markings, making it easy to mix accurate amounts of materials. This can save time and reduce waste, as seen in studies that highlight the importance of accurate mixing. A poorly chosen bucket can lead to project delays and increased costs.
Reflect on the projects you have completed. Did you struggle with your mould bucket? An inadequate choice can diminish the quality of your work. Evaluate your needs carefully. Taking time to select the right mould bucket will enhance your DIY experience, ensuring that your projects are successful.
Tips for Using a Mould Bucket Effectively in Your Projects
Using a mould bucket in DIY projects is critical for achieving precise results. This versatile tool ensures better mixing and pouring of materials such as concrete, plaster, or resin. A well-structured approach can make a difference in your projects.
When using a mould bucket, it’s important to prepare your materials properly. Gather everything you need beforehand. Measure the components accurately to prevent waste. This is a common mistake. If the ratio of ingredients is off, your results will suffer. The bucket's capacity can also limit how much you can mix at once. Plan accordingly and avoid overloading the bucket.
Another essential tip is to control your work environment. Ensure that the area is clean to prevent contamination. A messy workspace can affect results. Also, remember to clean the mould bucket promptly after use. Dried materials can be hard to remove. A thorough clean-up helps maintain the bucket’s longevity.
Finally, always test your mixture on a small scale before full application. This helps you gauge the consistency and workability. Mistakes happen, and learning from them is vital in honing your skills. Using a mould bucket effectively not only improves your final product but also enhances your overall DIY experience.
Why Is a Mould Bucket Essential for Your DIY Projects? - Tips for Using a Mould Bucket Effectively in Your Projects
| Dimension |
Description |
Tip |
| Capacity |
Typically holds 5 to 10 gallons of mixed materials. |
Choose the right size based on project scale to minimize mixing batches. |
| Material |
Made from durable plastic or metal for longevity. |
Ensure it's suited for the materials you're working with to prevent damage. |
| Handle |
Comes with a sturdy handle for easy lifting and transport. |
Always lift with both hands for better control and safety. |
| Mixing Tools |
Compatible with a variety of mixing tools like paddle mixers. |
Use a compatible tool for even mixing to achieve the best results. |
| Cleanup |
Easy to clean if used properly; without hardening materials left inside. |
Rinse immediately after use to prevent residue build-up. |
Maintenance and Care for Your Mould Bucket to Ensure Longevity
Proper maintenance of your mould bucket can significantly extend its lifespan. For instance, regular cleaning helps prevent the buildup of residues. Studies have shown that a clean mould bucket can last up to 30% longer than one that is poorly maintained. Dirty molds can ruin your efforts, affecting project quality. After each use, rinse it with water and degreaser. This simple step can greatly enhance its longevity.
Storage conditions matter too. Keeping your mould bucket in a cool, dry place is essential. Exposure to moisture can lead to degradation. A report by the Home Improvement Research Institute states that improper storage can cut a mould bucket's effectiveness by half over time. If neglected, you might find your buckets warped or difficult to clean. Regularly check for signs of wear. A proactive approach ensures you won’t face unexpected issues during your next DIY project.