inquiry
Leave Your Message

How to Choose the Right Cap Mold in 2026?

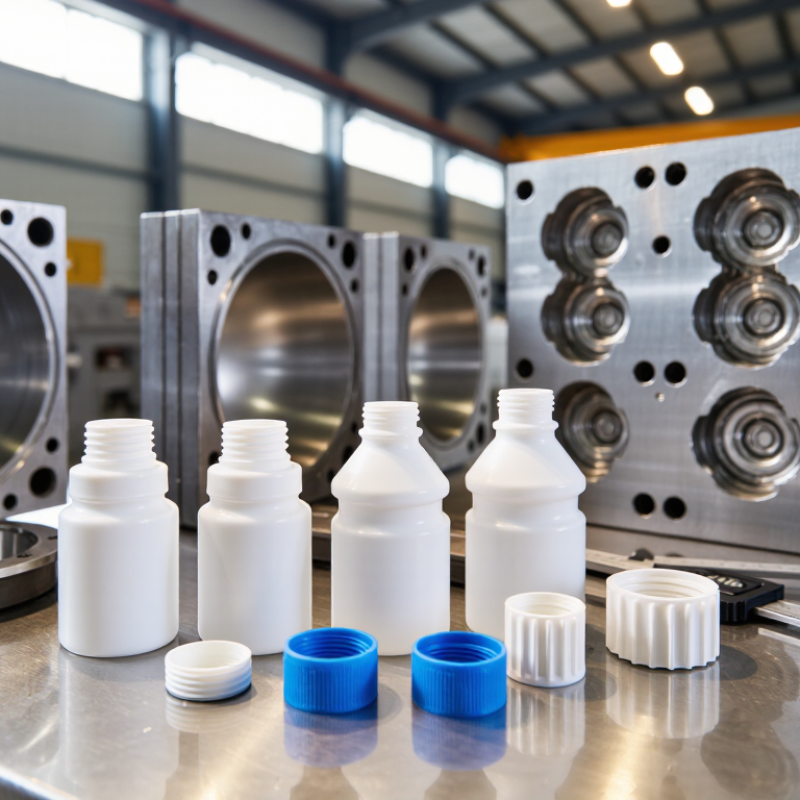
Choosing the right Cap Mold in 2026 starts with the cap itself, not the machine catalog. A 28-millimeter water-bottle closure has different demands from a wide, ribbed cap for household products. Define the cap’s dimensions, thread profile, liner or seal requirements, and expected production volume before comparing mold options. Small details matter. A slight mismatch in the thread can cause leaks, while uneven wall thickness may create weak spots or inconsistent cooling.

Material choice, cavity count, steel quality, cooling layout, and maintenance access all affect performance and cost. Ask how the mold handles your chosen resin and target cycle time, and request evidence from comparable production runs. Check whether spare components are available and whether the supplier can explain inspection procedures clearly. Photos and specifications help, but they do not replace sample testing on your intended equipment. Measure finished caps, test fit and sealing, and review consistency across cavities. Keep the results.

There is rarely one perfect mold for every factory. A high-cavity design may raise output, yet bring greater setup and maintenance demands. A lower-cost option may look attractive until downtime or scrap changes the calculation. These trade-offs deserve honest review. Even a careful selection can miss something; I would treat early production feedback as part of the decision, not proof that the choice was flawless. This guide outlines practical questions for comparing Cap Mold designs, suppliers, and support in 2026.
How to Choose the Right Cap Mold in 2026?

Define the Cap Mold and Its Role in Production

How to Choose the Right Cap Mold in 2026?

Define the Cap Mold and Its Role in Production

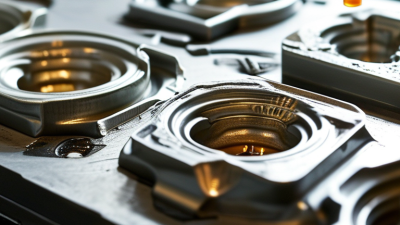
A cap mold is precision tooling that shapes plastic into a closure. Its core and cavity form features such as threads, sealing surfaces, and tamper-evident bands. During production, the mold also supports cooling and part ejection. Small details matter. A slight mismatch in thread geometry can make a cap difficult to apply or compromise its fit.

The mold’s design influences product consistency, cycle time, and material use. Its layout must suit the cap’s dimensions, resin, and production method, such as injection or compression molding. In practical assessments, teams should check sample parts for flash, uneven walls, and reliable sealing. A mold that looks efficient on paper may still need adjustment after testing. That is worth allowing for.

Tips: Confirm the mold matches the intended machine and production volume. Review cooling, venting, and maintenance access with the toolmaker. Ask for measured samples, not just visual approval, and record any changes made during trials.
Identify the Cap Type, Material, and Design Requirements

How to Choose the Right Cap Mold in 2026?
Identify the Cap Type, Material, and Design Requirements

Start with the closure’s job. A screw cap, snap-on lid, and dispensing closure need different geometry and ejection strategies. Match the mold to the container’s neck finish, opening torque, sealing surface, and expected production volume. A small thread mismatch can cause leaks or make the cap difficult to remove. Fit comes first.

Material choice affects shrinkage, cooling, and cycle time. Polypropylene is common for flexible closures; HDPE can suit caps needing toughness and a softer feel. Confirm the resin grade with your molder, then test actual samples. Grand View Research valued the global plastic caps and closures market at USD 58.5 billion in 2023, reflecting the scale of this packaging category. That figure does not tell you which mold is right. Check cavity count, venting, gate position, and whether a liner or tamper-evident band is required. One easily missed detail: decoration and wall thickness can complicate ejection.

Tips: Share a dimensioned drawing and resin specification before tooling. Ask for a mold-flow review and sample run. Measure sealing and removal performance, not appearance alone. I would recheck the neck finish early; teams sometimes lock in the cap design before validating the bottle.

Compare Mold Materials, Cavity Counts, and Cooling Systems

A cap mold’s material affects wear, maintenance, and the finish inside each part. Pre-hardened steel can suit steady production and moderate volumes. Harder tool steels may better withstand abrasive resins or long runs, but they cost more to machine. Aluminum can be useful for prototypes or limited output. It usually wears faster under repeated cycles. Resin choice matters, too; some materials need corrosion-resistant steel. Ask the mold maker to match the tool material to resin, expected output, and maintenance conditions.

Cavity count should reflect both demand and the molding machine’s limits. More cavities can raise output per cycle, but they also increase mold size, clamping-force needs, and the difficulty of balancing flow. A 16-cavity mold is not automatically better than an 8-cavity mold. Check sample caps across the mold: uneven wall thickness or inconsistent weight may point to flow or temperature differences. Heat matters. A production forecast and press specifications help narrow the count before tooling begins.

Cooling systems shape cycle time and cap consistency. Well-placed channels remove heat evenly, especially around thick areas near the tamper-evident band. Poor cooling can leave caps soft, warped, or slow to release. Conformal channels may improve heat transfer in complex regions, though their cost and serviceability deserve review. Not always. Compare cooling layouts using mold-flow analysis, then confirm results with trial data. Measurements from actual cycles can challenge the original design assumptions; that is an inconvenient, useful part of the process.

How to Choose the Right Cap Mold in 2026? - Compare Mold Materials, Cavity Counts, and Cooling Systems

Decision Area Option or Planning Range Best Suited For Advantages Trade-Offs and Checks
Mold material Pre-hardened tool steel, such as P20-type steel General-purpose production where a balance of machinability, durability, and initial tooling cost is important. Usually easier to machine than highly hardened steels and can be a practical choice for many standard cap applications. Corrosion resistance and wear performance depend on the exact grade, heat treatment, water quality, and maintenance. Confirm the required finish and expected production volume.
Mold material Hardened stainless tool steel, such as 420-type stainless steel Applications needing improved corrosion resistance, a polished mold surface, or longer service under demanding production conditions. Can help resist corrosion and support a durable, polished cavity surface when correctly specified and finished. Typically requires more demanding machining and heat-treatment planning. Confirm the specific grade, hardness, surface treatment, and repair method with the mold maker.
Mold material Aluminum tooling Prototypes, design trials, and some lower-volume production runs. Can be machined quickly and may reduce tooling lead time for early-stage evaluation. Generally has lower wear resistance than production tool steels. Suitability depends on resin, operating conditions, part geometry, and the required tool life.
Cavity count 1–8 cavities: an initial planning band for trials or lower output Prototype validation, new cap designs, or production with modest demand. Lower initial tooling complexity and a simpler route for testing part design and process settings. Output per cycle is limited. Check whether the press can run the mold efficiently and whether future demand could justify a larger cavity count.
Cavity count 16–32 cavities: a mid-range planning band Established production with recurring demand and a suitable injection molding machine. Can increase output per cycle while keeping the mold size and system requirements below those of many very high-cavity tools. Requires careful runner balance, cooling uniformity, ejection design, and machine-capacity checks. The range is indicative, not a universal standard.
Cavity count 48–96 or more cavities: a high-output planning band High-volume production designed around compatible machines, automation, and stable process control. Produces more parts per cycle and can support high output when the mold and production line are properly matched. Higher tooling complexity and greater demands on clamp force, shot capacity, mold dimensions, cooling, maintenance, and balanced filling. Validate the complete production system before selection.
Cooling system Conventional drilled water channels Many standard cap molds with accessible, relatively straightforward cooling layouts. Established design and manufacturing method; channels can be comparatively easy to inspect and maintain. Cooling effectiveness depends on channel position, flow, and mold geometry. Check for uneven temperatures and ensure channels do not interfere with mold strength or other features.
Cooling system Baffles or bubblers in selected areas Deep or narrow regions where a simple drilled channel may not provide adequate local cooling. Can direct coolant closer to specific mold areas that are difficult to cool with straight channels alone. Design and balance coolant flow carefully. Small passages and inserts may require additional inspection and maintenance to manage scale or blockage.
Cooling system Conformal cooling channels Complex mold areas where cooling channels need to follow the part or cavity contour more closely. May improve temperature uniformity in suitable designs compared with channels that cannot follow the geometry. Often involves specialized manufacturing, higher design effort, and more demanding cleaning or inspection. Performance should be validated through engineering analysis and production trials.
Machine and process fit Verify clamp force, shot capacity, platen size, tie-bar spacing, and mold height Every mold selection, especially when increasing cavity count. Helps confirm that the intended mold can be installed and operated within the machine’s rated limits. Check the complete mold-and-part shot weight, projected area, runner design, ejection needs, and automation interfaces with the molding supplier.
Final selection Match material, cavity count, and cooling to the cap design and production target Projects where quality, output, service life, and operating cost must be considered together. A balanced specification can avoid paying for capacity or features that the production plan does not need. Actual cycle time and tool life cannot be determined from material or cavity count alone; they depend on cap geometry, resin, machine, cooling, process settings, and maintenance.

Planning note: Cavity-count bands are indicative examples, not fixed industry standards. Confirm the mold design, resin, machine compatibility, expected annual volume, and maintenance plan with a qualified mold maker before specifying a tool.

Check Compatibility With Your Production Equipment

How to Choose the Right Cap Mold in 2026?
Check Compatibility With Your Production Equipment

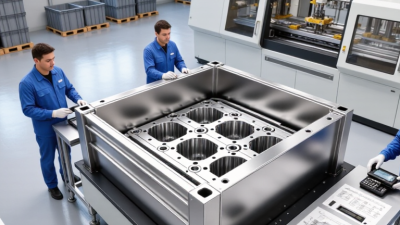
A cap mold must match more than the finished cap’s shape. Check your machine’s platen size, tie-bar spacing, and maximum mold height against the mold drawing. Confirm clamp force, opening stroke, and ejector travel can handle the mold without restricting movement. Small gaps matter. Review the injection unit’s shot capacity and plasticizing rate too; a mold that exceeds either limit may produce inconsistent parts or slow the cycle. Check cooling connections and hose clearance before installation, especially where fittings sit close to the machine frame.

Ask for the mold’s verified technical data, then compare it with your equipment manual. Don’t rely on a previous mold as your only reference; its dimensions may differ in subtle ways. If possible, confirm mounting, nozzle alignment, and ejection with a qualified technician before committing to production. A paper match is useful, but it is not a running test. I’ve seen overlooked hose routing become a frustrating delay, and it is easy to miss during early planning.

Tips: Measure tie-bar spacing and platen dimensions yourself, then verify them against the machine specifications. Check nozzle radius, locating-ring fit, and hydraulic or electrical connections. Test it cold. Record any mismatch before production starts.

Evaluate Tooling Costs, Quality Controls, and Maintenance Needs

How to Choose the Right Cap Mold in 2026?

A cap mold’s purchase price tells only part of the story. Compare the quote with expected output, changeover time, and the cost of routine servicing. Ask what is included: cooling channels, spare inserts, trial runs, and operator training. A cheaper tool may need more adjustments. That trade-off is easy to miss.

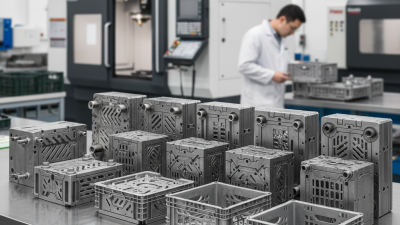
Check quality controls before approving the design. Request sample caps from a trial run, then inspect thread fit, sealing performance, weight, and visible flash. Confirm how dimensions are measured and how often checks occur during production. Small variations can cause leaks or make caps difficult to apply. Keep the acceptance criteria in writing. It helps later.

Maintenance deserves equal attention. Ask how vents are cleaned, which wear parts can be replaced, and whether routine work requires specialist support. Look for accessible service points and clear maintenance records. A mold that runs well on day one may still demand frequent cleaning. There is no perfect spreadsheet for that. Compare realistic maintenance estimates, then revisit them after production begins; early estimates can be wrong, and that is worth admitting.